2.6 資訊視窗
新增資訊視窗
最容易的方法是,設定與標記相對應的 title() 與 snippet() 方法。 設定這些屬性,會讓資訊視窗每次只要點擊標記就會出現。(也就是上一節所說的點擊預設事件中的資訊視窗)
static final LatLng TAIPEI = new LatLng(25.024473, 121.574921);
Marker taipei = map.addMarker(new MarkerOptions().position(TAIPEI)
.title("Taipei")
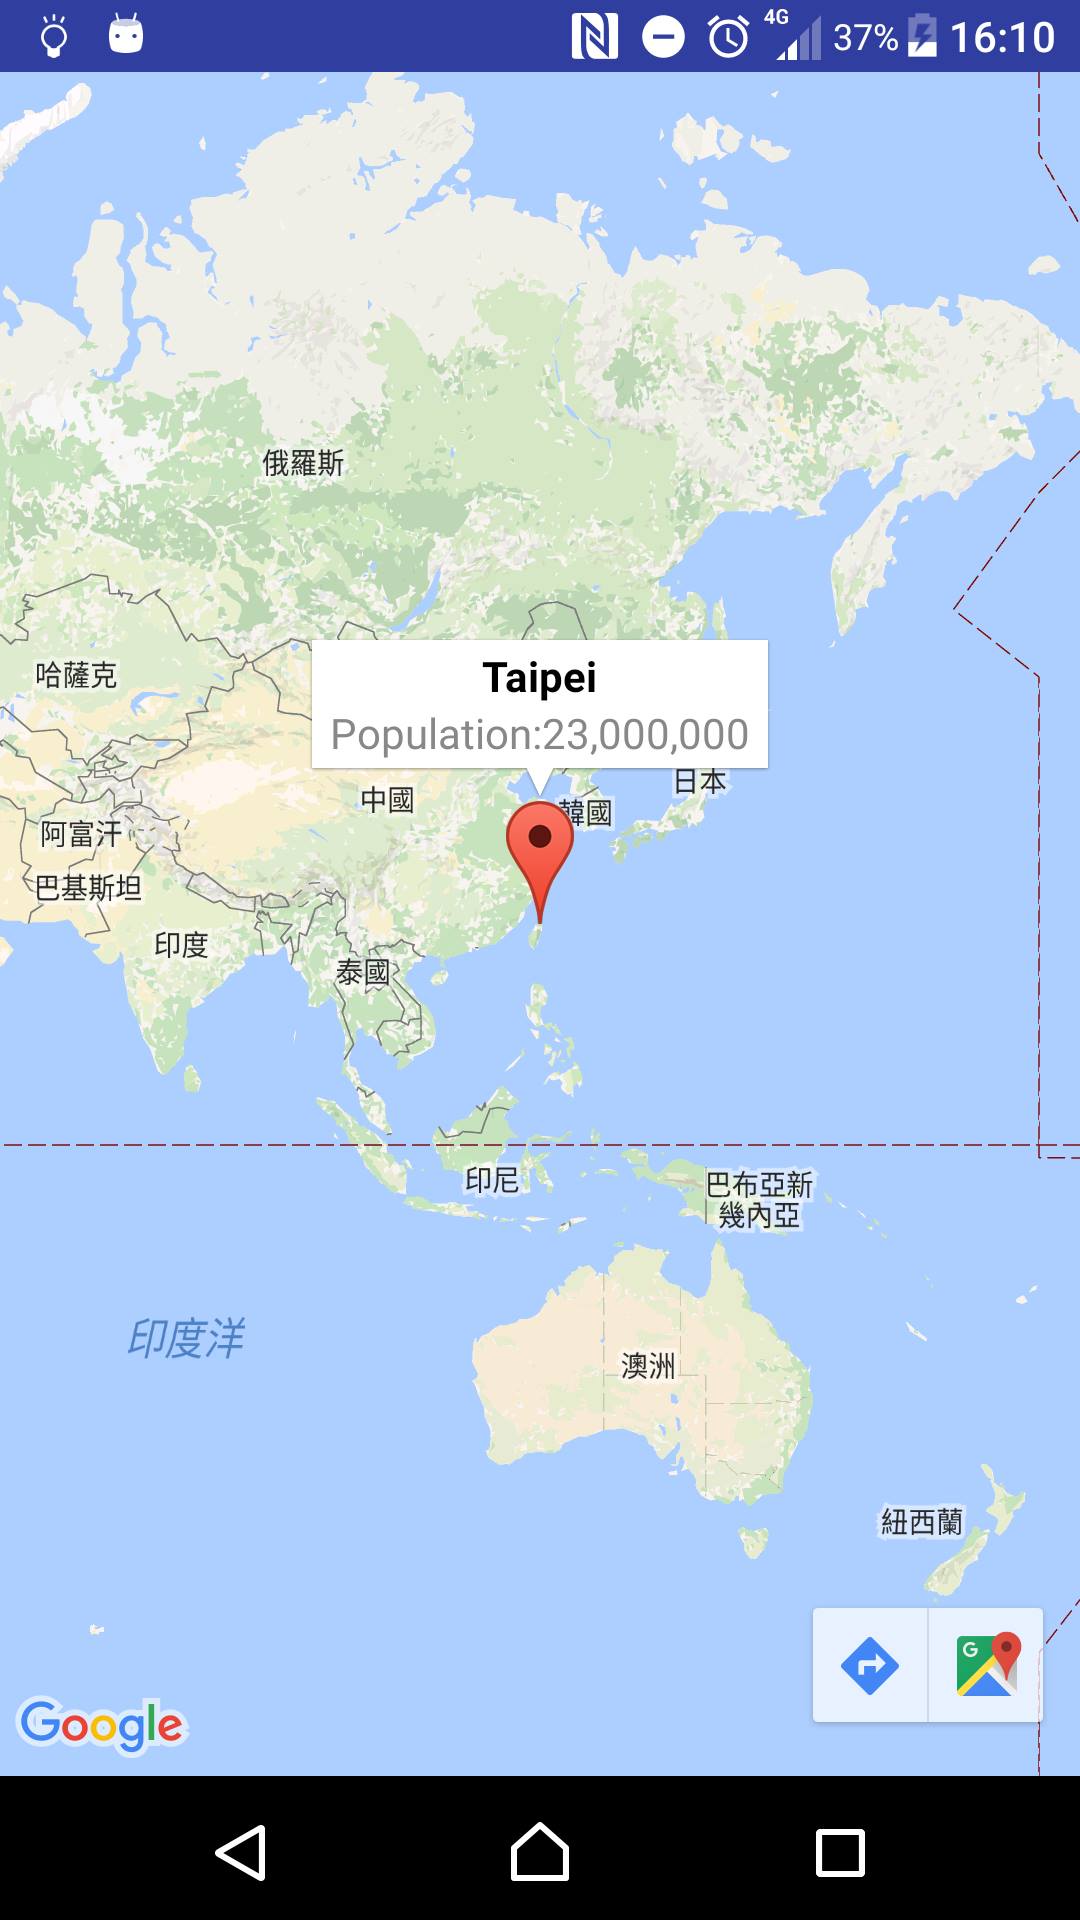
.snippet("Population: 23,000,000"));
這樣我們就會在點擊標記後得到標題為Taipei,內文為Population: 23,000,000的訊息視窗
顯示/隱藏資訊視窗
資訊視窗是為了回應使用者輕觸事件而設計。 您可以選擇透過呼叫目標標記上的 showInfoWindow(),以程式設計方式顯示資訊視窗。呼叫 hideInfoWindow() 可以隱藏資訊視窗。
static final LatLng TAIPEI = new LatLng(25.024473, 121.574921);
Marker taipei = mMap.addMarker(new MarkerOptions().position(TAIPEI).title("Taipei"));
taipei.showInfoWindow();
根據預設,資訊視窗在點擊之後才會顯示,最後一行的程式碼可以讓它一開始就顯示。
自訂資訊視窗
建立 InfoWindowAdapter 介面,然後透過呼叫 GoogleMap.setInfoWindowAdapter()。介面包含兩種實作方法:
getInfoWindow(Marker) 與 getInfoContents(Marker)。 API 會先呼叫 getInfoWindow(Marker),如果傳回 null,會接著呼叫 getInfoContents(Marker)。如果同樣傳回 null,就會使用預設資訊視窗。
前述的第一項 (getInfoWindow()) 可提供要用於整個資訊視窗的檢視。 前述的第二項 (getInfoContents()) 可讓您僅自訂視窗內容,但保留預設資訊視窗框架與背景。
以下示範使用方法
map.setInfoWindowAdapter(new GoogleMap.InfoWindowAdapter() { @Override public View getInfoWindow(Marker marker) { return null; }
        @Override
        public View getInfoContents(Marker marker) {
            View v = getLayoutInflater().inflate(R.layout.info_window, null);
            LatLng latLng = marker.getPosition();
            ImageView icon = (ImageView) v.findViewById(R.id.icon);
            TextView title = (TextView) v.findViewById(R.id.title);
            TextView snippet = (TextView) v.findViewById(R.id.snippet);
            TextView lat = (TextView) v.findViewById(R.id.lat);
            TextView lng = (TextView) v.findViewById(R.id.lng);

            title.setText(marker.getTitle());
            snippet.setText(marker.getSnippet());
            if (marker.getTitle().equals("London")) {
                icon.setImageResource(R.drawable.uk);
            } else if (marker.getTitle().equals("Newark")) {
                icon.setImageResource(R.drawable.us);
            } else if (marker.getTitle().equals("Taipei")) {
                icon.setImageResource(R.drawable.tw);
            }
            lat.setText("Latitude:" + latLng.latitude);
            lng.setText("Longitude:" + latLng.longitude);

            return v;
        }
    });
MapsActivity.java
<?xml version="1.0" encoding="utf-8"?>
    <ImageView
        android:id="@+id/icon"
        android:layout_gravity="center"
        android:layout_height="80sp"
        android:layout_width="80sp" />

    <TextView
        android:id="@+id/title"
        android:layout_width="wrap_content"
        android:layout_height="wrap_content" />

    <TextView

        android:id="@+id/snippet"
        android:layout_width="wrap_content"
        android:layout_height="wrap_content" />

    <TextView
        android:id="@+id/lat"
        android:layout_width="wrap_content"
        android:layout_height="wrap_content" />

    <TextView
        android:id="@+id/lng"
        android:layout_width="wrap_content"
        android:layout_height="wrap_content" />

</LinearLayout>

info_window.xml(新增的layout)
